Is too much polymeric sand bad?


Achieve a Flawless Paver Surface: Tackling the Issue of Excess Polymeric Sand

At Paver Wash, we understand the frustrations homeowners face when dealing with too much polymeric sand in their paver joints. This common occurrence can lead to hazing on the pavers, compromising the overall look and aesthetics of your hardscape. As the final step before sealing, it’s essential to pay attention to detail and ensure a clean, professional finish. In this blog post, we will provide you with a step-by-step process to address this issue and guide you towards a solution that will transform your paver surface. Our goal is to make the process simple, easily understandable, and empower you to take action. Let’s dive in!

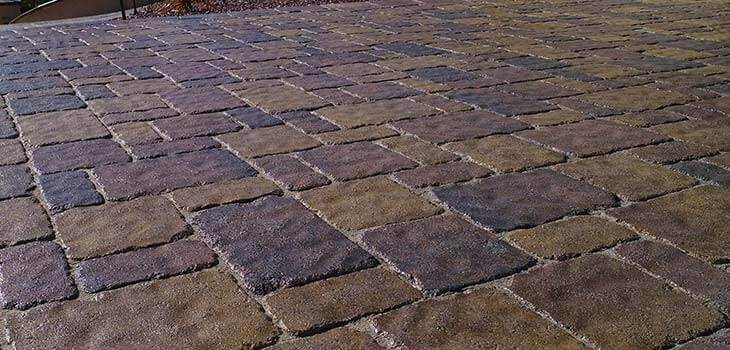
Step 1: Assess the Situation: If you notice an excess of polymeric sand in the joints of your pavers, it’s crucial to address it promptly. This issue can arise in both new installations and existing ones, and it can have a significant impact on the overall appearance of your hardscape. By recognizing the problem, you’ve already taken the first step toward achieving a flawless surface.

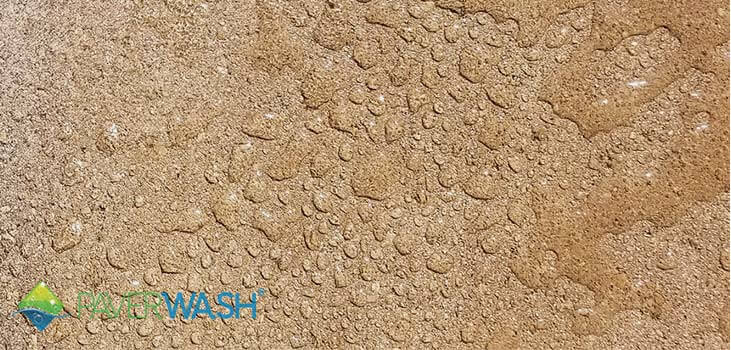
Step 2: Choose the Right Approach: For our restorations, we prefer using regular joint sand in most cases. This allows us to achieve the best results. We follow it up with a joint stabilizing sealer, which acts as a glue, binding the sand together and creating a strong, stable surface. This process and combination of products have proven effective in countless restorations.

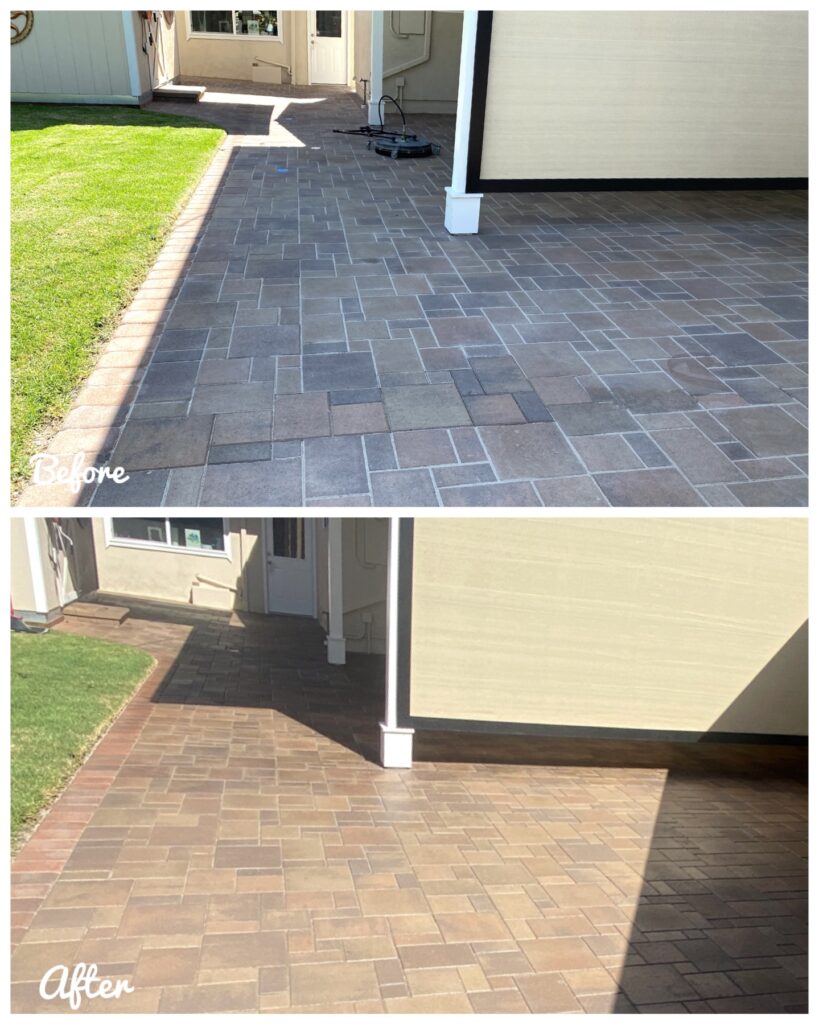
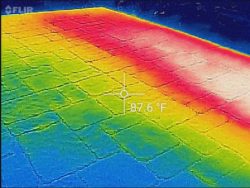
Step 3: Addressing Existing Installations: If you’re dealing with an existing installation with excessive polymeric sand, there are solutions available. Our expert team can utilize our hot water paver washing method, where we wash the pavers at temperatures exceeding 200°F. This high-temperature process effectively removes haze and restores the beauty of your pavers. Contact us today to schedule your paver restoration and witness the transformative power of our cleaning method.

Step 4: Prevention is Key: Choosing the Right Approach for Lasting ResultsTo prevent the recurrence of excess polymeric sand in the future, it’s crucial to prioritize proper installation. It’s essential to note that polymeric sand may not always be the ideal solution for every project. Determining the right approach for your specific paver project is vital. At Paver Wash, we understand this dilemma, and our knowledgeable team is here to guide you through the available options. We’ll provide expert advice and help you make an informed decision about the best approach for your pavers. Your satisfaction and long-term success are our top priorities. Let us be your trusted partner in creating a durable and visually stunning paver surface.

Step 5: Take Action Today: Don’t let excessive polymeric sand hinder the beauty of your paver surface any longer. Contact us to schedule your paver restoration and witness the remarkable results our expert team can deliver. To get an instant estimate, visit our website and use our convenient cost calculator. We aim to make the process as easy and accessible as possible for homeowners like you.

By addressing the issue of excess polymeric sand, you’re taking a proactive step toward achieving a flawless and visually appealing paver surface. Our team at Paver Wash is dedicated to providing you with top-notch restoration services, using proven methods and products to ensure your satisfaction. Take action today and experience the transformative power of our paver restoration services.

Witness the Paver Transformation: Before and After the Hot Wash Before: The top image reveals a paver surface in need of attention. Excessive sand fills the grout lines, creating a white haze that detracts from the pavers' beauty. However, there's an area where pavers were replaced, showcasing the proper appearance of sand-filled joints. After: Prepare to be amazed by the bottom image, showcasing the incredible results of our hot wash cleaning process. The joints are now clear of excessive sand, allowing the true color of the pavers to shine through. Not only has the enhanced sealer played a role in the rejuvenation, but the removal of excess sand has eliminated hazing as well. Experience the Difference: Clear Joints and Revitalized Pavers – a testament to our expertise and commitment to excellence. Join us on the journey to a flawless paver surface that will leave you in awe.

6 Tips To Avoid Pavers Sealer Disaster


Avoid-Pavers-Sealer-Disaster
Sealers make maintenance easier, adding an extra layer of protection to help prevent serious stains.

1. Choosing The Right Sealer For Your Project

The number one issue when it comes to paver sealer goes wrong is not using the right sealer for your pavers. There are many different types of sealers on the market and most are not design for pavers. Buying your own sealer in local hardware stores such as Lowes or Home Depot to seal your pavers is not a good idea and can often result in irreparable damage. Paver Wash uses top of the line sealers from the BEST sealer manufacturers in America, Alliance Gator and BP Pro.

2. Shelf Life

Many contractors who do not use sealer regularly are often working with expired sealer. As paver sealer nears it’s shelf life, the performance of the sealer decreases as well. Even the best sealers on the market such as Alliance Gator and BP Pro have a shelf life of 12 to 18 months, if it is stored in a cool area and out of direct sunlight.

3. Application

Applying paver sealer is like an art. The beauty and finished look of your paver sealer is determined by so many factors, all of which must be executed precisely. These factors range from operator consistency, the performance of the spraying equipment, the type of sprayer tip, the amount of gallons per minute and many more. Unless you are someone who is sealing pavers on a daily basis, sealing pavers is not the job for you. For the best results and the most cost-effective and efficient process, your pavers should only be sealed by the paver experts.

This image shows how poor sealer application can create uneven consistency on the surface of your pavers.

4. Too Much Sealer

One very common problem when it comes to sealing pavers is over application. When applying paver sealer, you must always be sure to remove any excess sealer on the pavers. Whenever there is a puddle of sealer on the pavers, this will result in white bubbles or milky, white stains once the sealer as dried. These bubbles and stains can quite often be irreparable or if so, the cost of the repair will be very expensive. Aside from stains and blemishes, if sealer is over-applied, the inconsistency will be very noticeable. You will see overlapping lines on your pavers, variations in color and even different finishes.

5. Curing Time

Many inexperienced contractors forget to tell their customers to turn off automatic water sprinklers for at least 24 hours after sealer has been applied. Customers must also allow at least a 24-48 hours of dry weather after sealer has been applied.If the sealer is not cured correctly, water can cause white marks or stains on your pavers and can even be trapped beneath the layer of sealer. It is very important not to walk or drive on sealed pavers at least 24-48 hours after application.

pavers-disaster-temperature
A protective sealer enhances the natural color and beauty of your pavers.

6. Temperature

Paver sealer should only be applied when paver temperature is between 40 to 75 degrees fahrenheit. Paver temperature can be controlled with water, however it takes an experienced professional to use this technique as it takes the utmost expertise to perform correctly. As with other sealing errors, if sealer is applied to pavers that are too hot, your pavers will be become stained, experience flashing from uneven application and may often start to peel and age prematurely resulting in expensive repair costs.